Compost toilets
Flush toilets account for one third of the typical household’s domestic water usage – water that is usually treated drinkable water. Vast amounts of energy are consumed cleaning the water, and treating the sewage. Dry compost toilets use no water, and the waste is usefully and safely composted on site having been mixed with sawdust.
They don’t smell, the by product is perfectly safe once composted down, and they use no energy. Typically the compost is put on tree crops rather than on vegetable crops, to be on the safe side.
We love composting toilets, we have several on site, the one above being a simple ‘bucket and empty’ type, and the most recent being a treebog type design where waste is composted in the chamber below the toilet, and willow planted around the building to feed on the nutrients. Below, our latest treebog here at Lackan Cottage Farm, and following that another that we built at the Quarries Farm in Bangor as part of a weekend volunteering project.
The original, below, was one of the first projects completed on the farm and is still much loved and well used. We always pay it a visit when we’re up in Bangor.
Building a treebog
I’ve seen plenty of treebog pics around the net, but they always seem to be accompanied by requests for instructions. Here’s how we built one – we’ve used roundwood, cut on site where possible; sawmill waste for the cladding, and reclaimed timber here and there. The only costs were in the plastic roof, hinges, and chicken wire – so the costs are minimal.

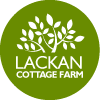
First a series of 4 corner holes were dug to take the legs. We went down 3 feet, and put a foot of stone in the bottom of the holes to allow for some drainage and to carry water away from the posts.
The corner posts are put in the holes, and temporarily propped.
Once all four posts are in, attach a brace from front to back on one side, get it level, and then do the same on the other side. We left a projection of about 2 foot at the front. These 2 pieces will carry the load of the platform above so make them sturdy. We just axed a flat onto each post, and then bolted the side pieces straight on.
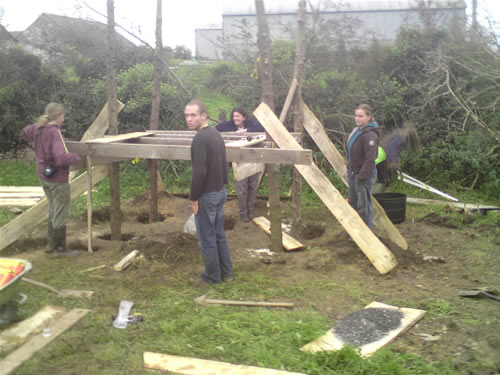
Next you can attach some sturdy pieces that run from side to side – there are four on ours – 1 from post to post at the front and back, one in the middle, and another at the front of the projecting piece.
Now you can lay planks on top of these floor joists and fix them into place – at this point your platform should become a good bit more rigid. The post holes can be filled and rammed. We left some bracing on until the upper frame was clad, just in case.
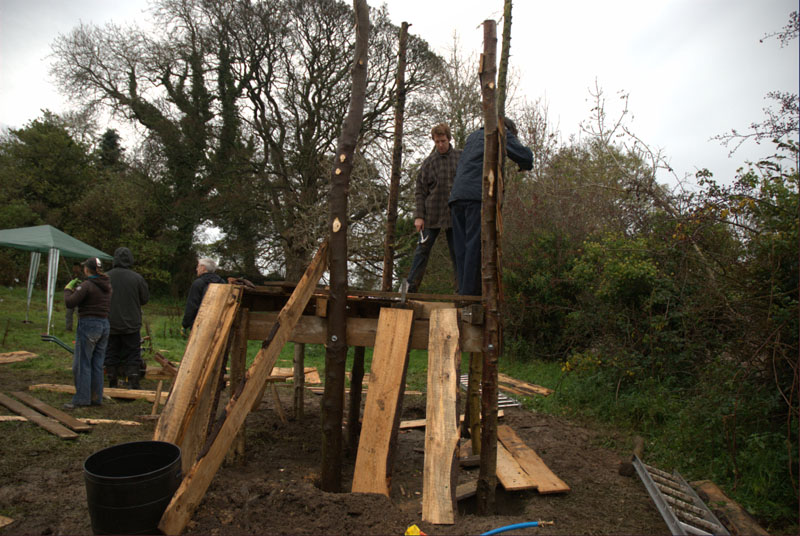
Next the back of the frame can be clad – we’ve used sawmill ‘skins’ – wany edged planking that wasn’t good enough to sell at the sawmill, and which is basically their waste. Then the ends can be clad – we boarded this with plenty of overhang at the ends and then just trimmed it up with a chainsaw.
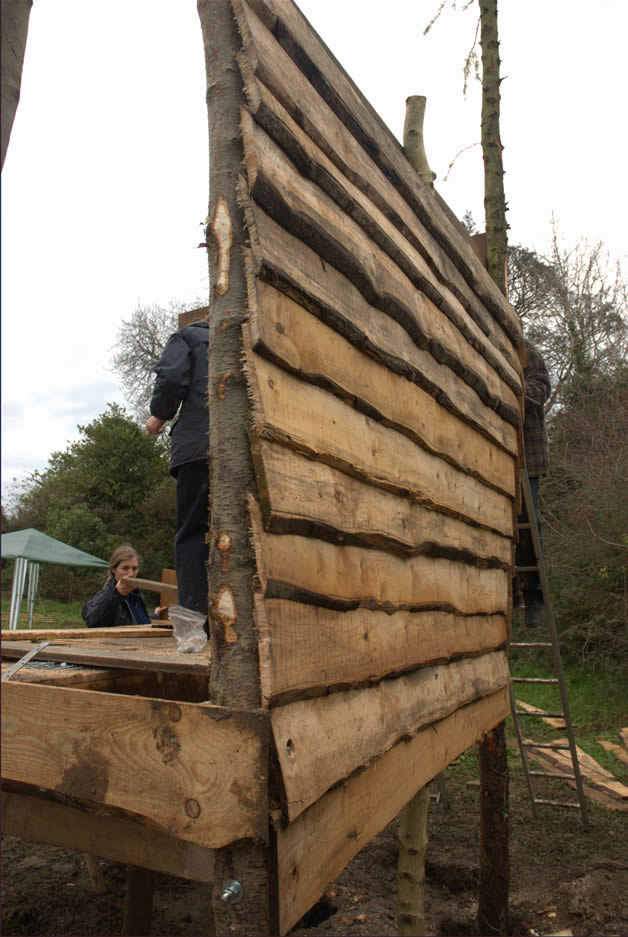
We’ve also added short ‘legs’ at the front of the thing to take the weight of the overhang, and a couple of thinner central posts that will be used to strengthen the back and provide something to shut the doors against at the front.
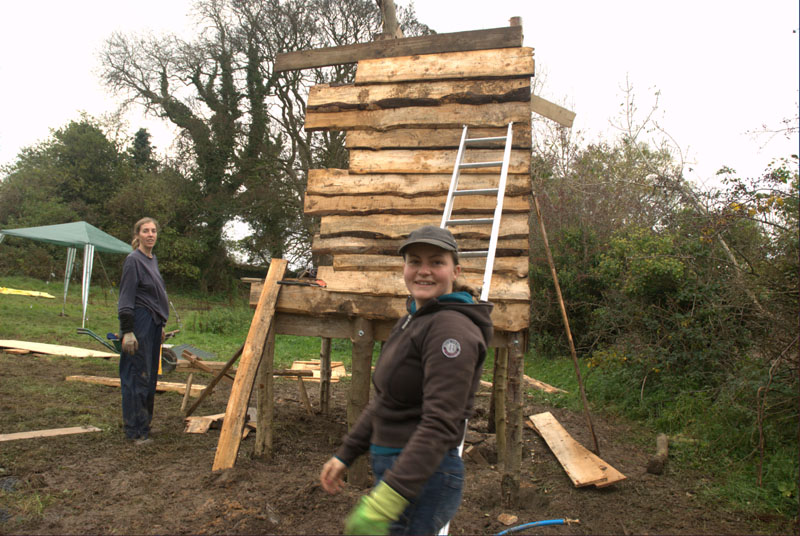
Here Beatrix has finished cladding the near end, and here it is after being ‘trimmed’
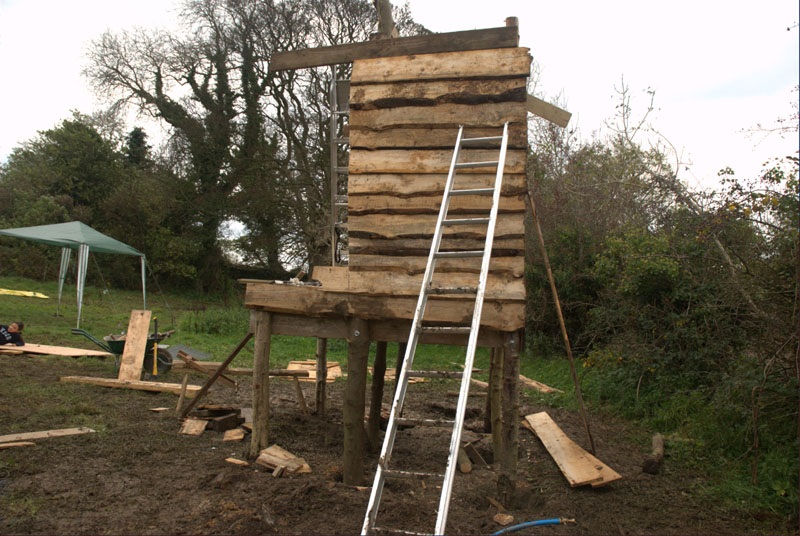
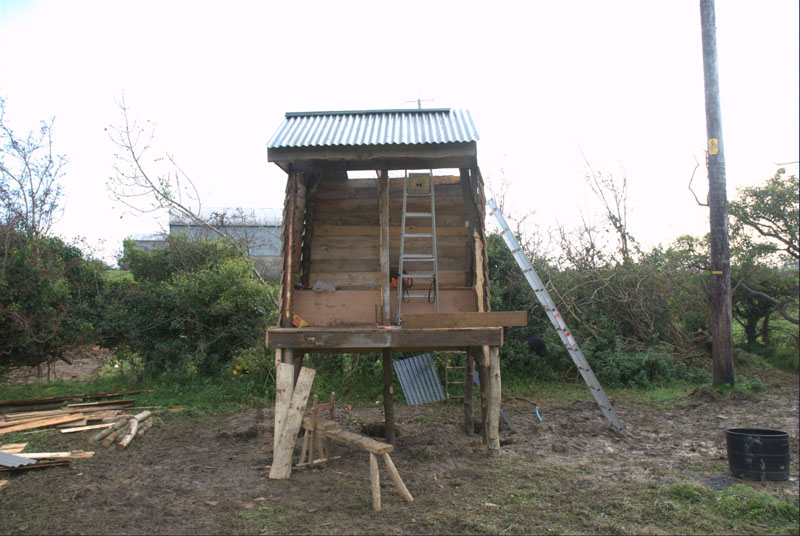
ow you have a platform with 3 sides, a floor, but no roof, steps or doors…

Here we have added a couple of pieces to form the ridge of the roof, and sides. The tops of the poles have been trimmed to their final heights.
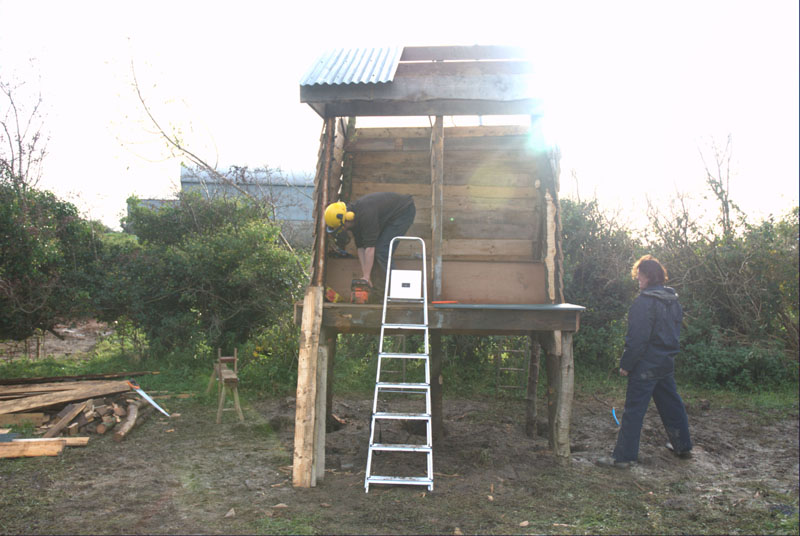

The roof can start to go on – we used corrugated tin on the front and plastic on the back. The box for the seat has also been made.
Finished roof – we made the ridge by simply cutting a piece of leftover tin down to 4 corrugations wide and then bending it into a V shape.
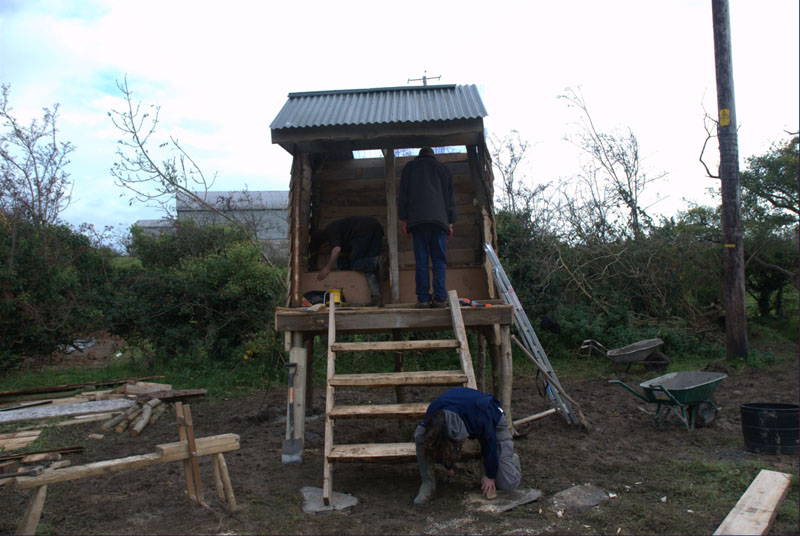
Next we fixed a post halfway across the box and used more planking to create a dividing wall beween 2 cubicles.
The steps are just 2 or 3″ planks cut from 1 log. Sides were waste timber. The steps just sit into rebates cut into the sides, and are nailed through the sides.
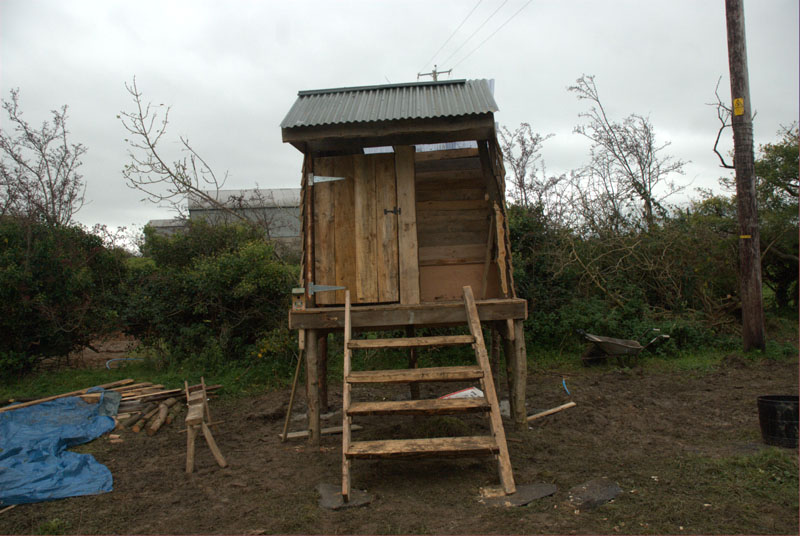
The poles at each front corner have their front face axed flat where the hinges will sit. Doors are just made from more of the cladding..

Second door on – the right hand tree wasn’t just as straight so the hinge placement reflects that.
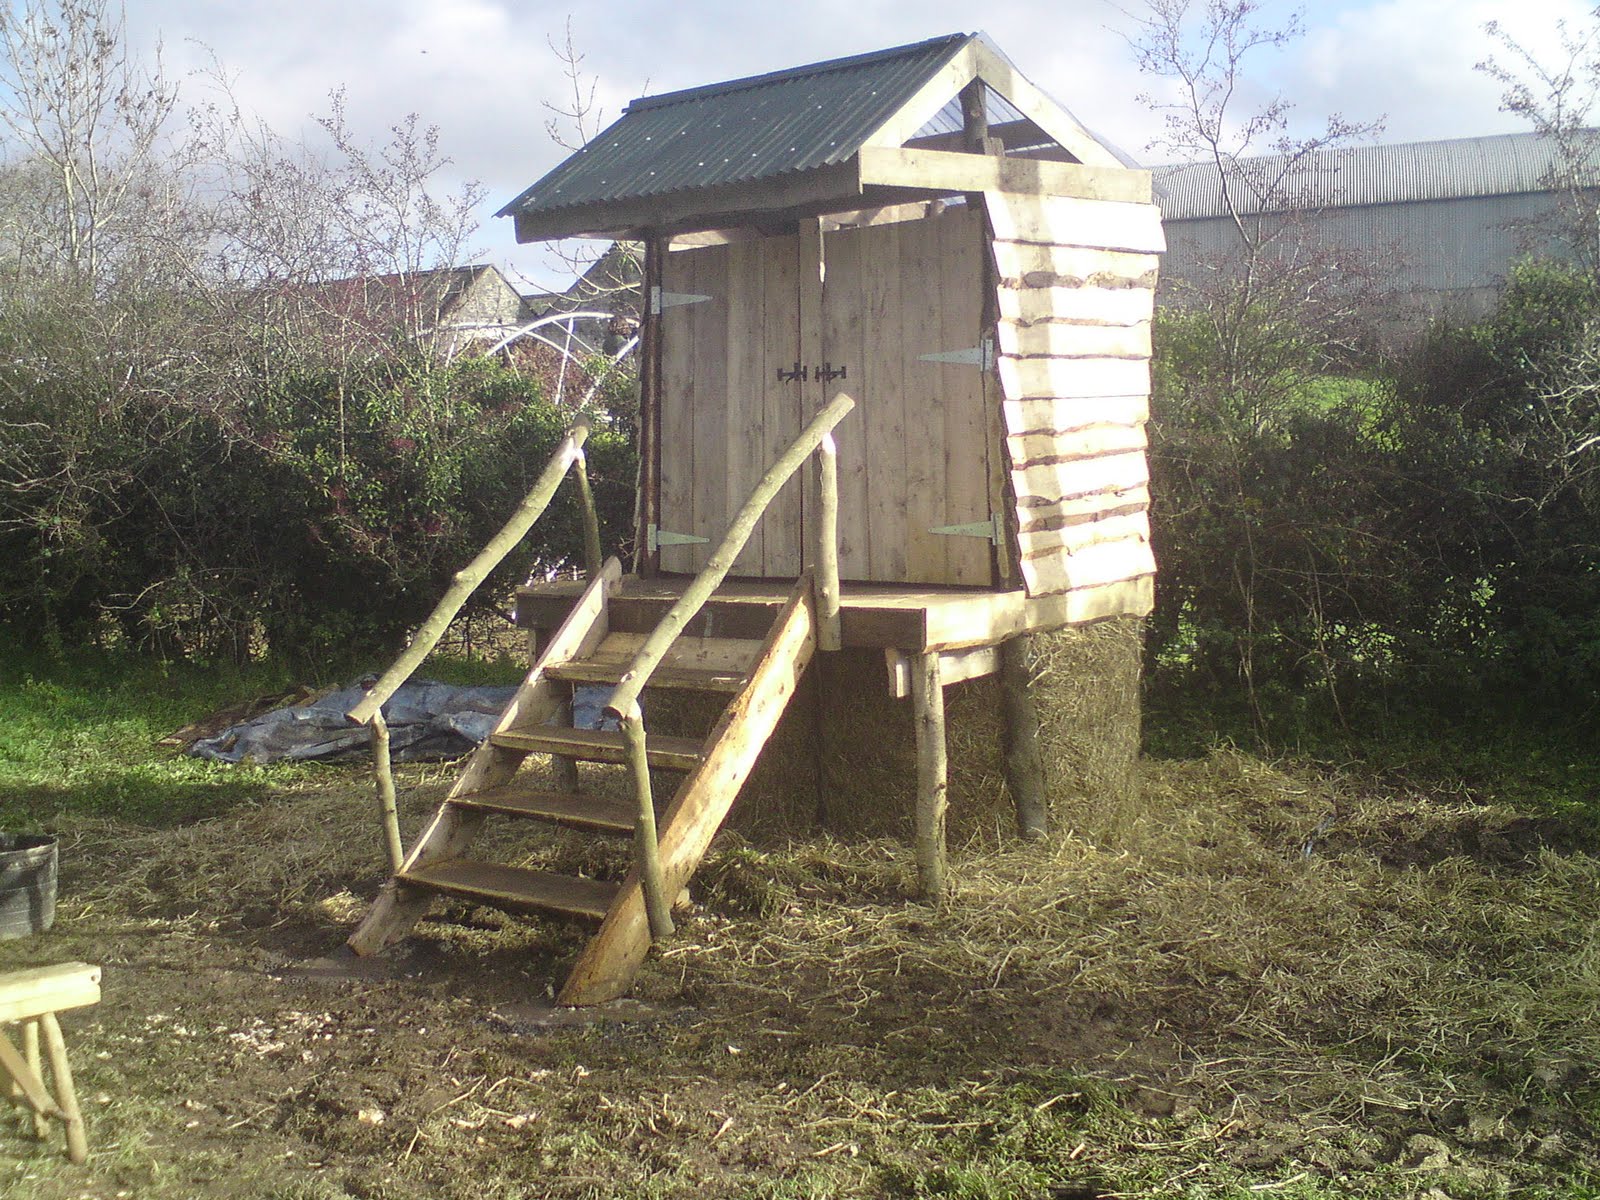
ome handrails added, made from cleft sycamore. We’ve also made the straw chamber, by first wrapping chicken wire around the posts, then adding a layer of straw, and an inner layer of chicken wire. More straw was then stuffed into this sandwich until it filled to the underside of the platform. I’ve seen this stage done much earlier in the construction, but we just happened not to get our hands on the chicken wire or straw until later on.