

One of the hardest things about producing your own food isn’t growing it, it is storing it afterwards. It really wants to break down as fast as possible, and all manner of creatures want to eat it first. Until now we’ve stored food all over the place – hanging up in the living room; in cupboards. In short, not ideal. Another issue that we had was that our 4000 litre rainwater tanks and pump were not terribly pretty and very exposed to cold temperatures. The pump especially has been badly damaged by freezing twice now. The problem, as they say in permaculture, is the solution, and in this case takes the form of a strawbale barn, which incorporates the water tanks as its back wall.

The problem: A scrubby patch in front of the rainwater tanks
The bulk of water on the south side of the building will act as thermal mass, evening out the temperature within the barn, and the barn will in turn prevent the tanks and pump from freezing.

Tyre foundation sitting on a gravel bed
Our budget for this build was virtually nothing, and so we’ve used recycled or low cost materials throughout. The foundation is made from two courses of rammed earth tyres, topped with gravel.

The walls go up in a day.

Window openings are formed as the walls are built
On top of this sits the strawbale wall, which is pinned into the bales with rebar and willow stakes. Window openings are formed from old scaffold boards. We experimented by creating a wall plate from two lengths of 2″ blue water pipe, which is pinned and lashed to the top of the bale wall.

The roof frame going on

Charlie stick supporting the roof
The self supporting reciprocal roof is made from birch poles, which are fixed together where they meet with fencing wire, and to the wallplate with metal strap. On top of these is a deck of sawmill skins. which is in turn covered with a layer of white weed suppressant fabric (a gift from a neighbour).

The view from above

The roof begins to feel more solid
Then a layer of straw, followed by a couple of layers of plastic silage sheet, which are in turn protected by another layer of weed suppressant and old carpet. Soil and turf is then sitting on top of all that.
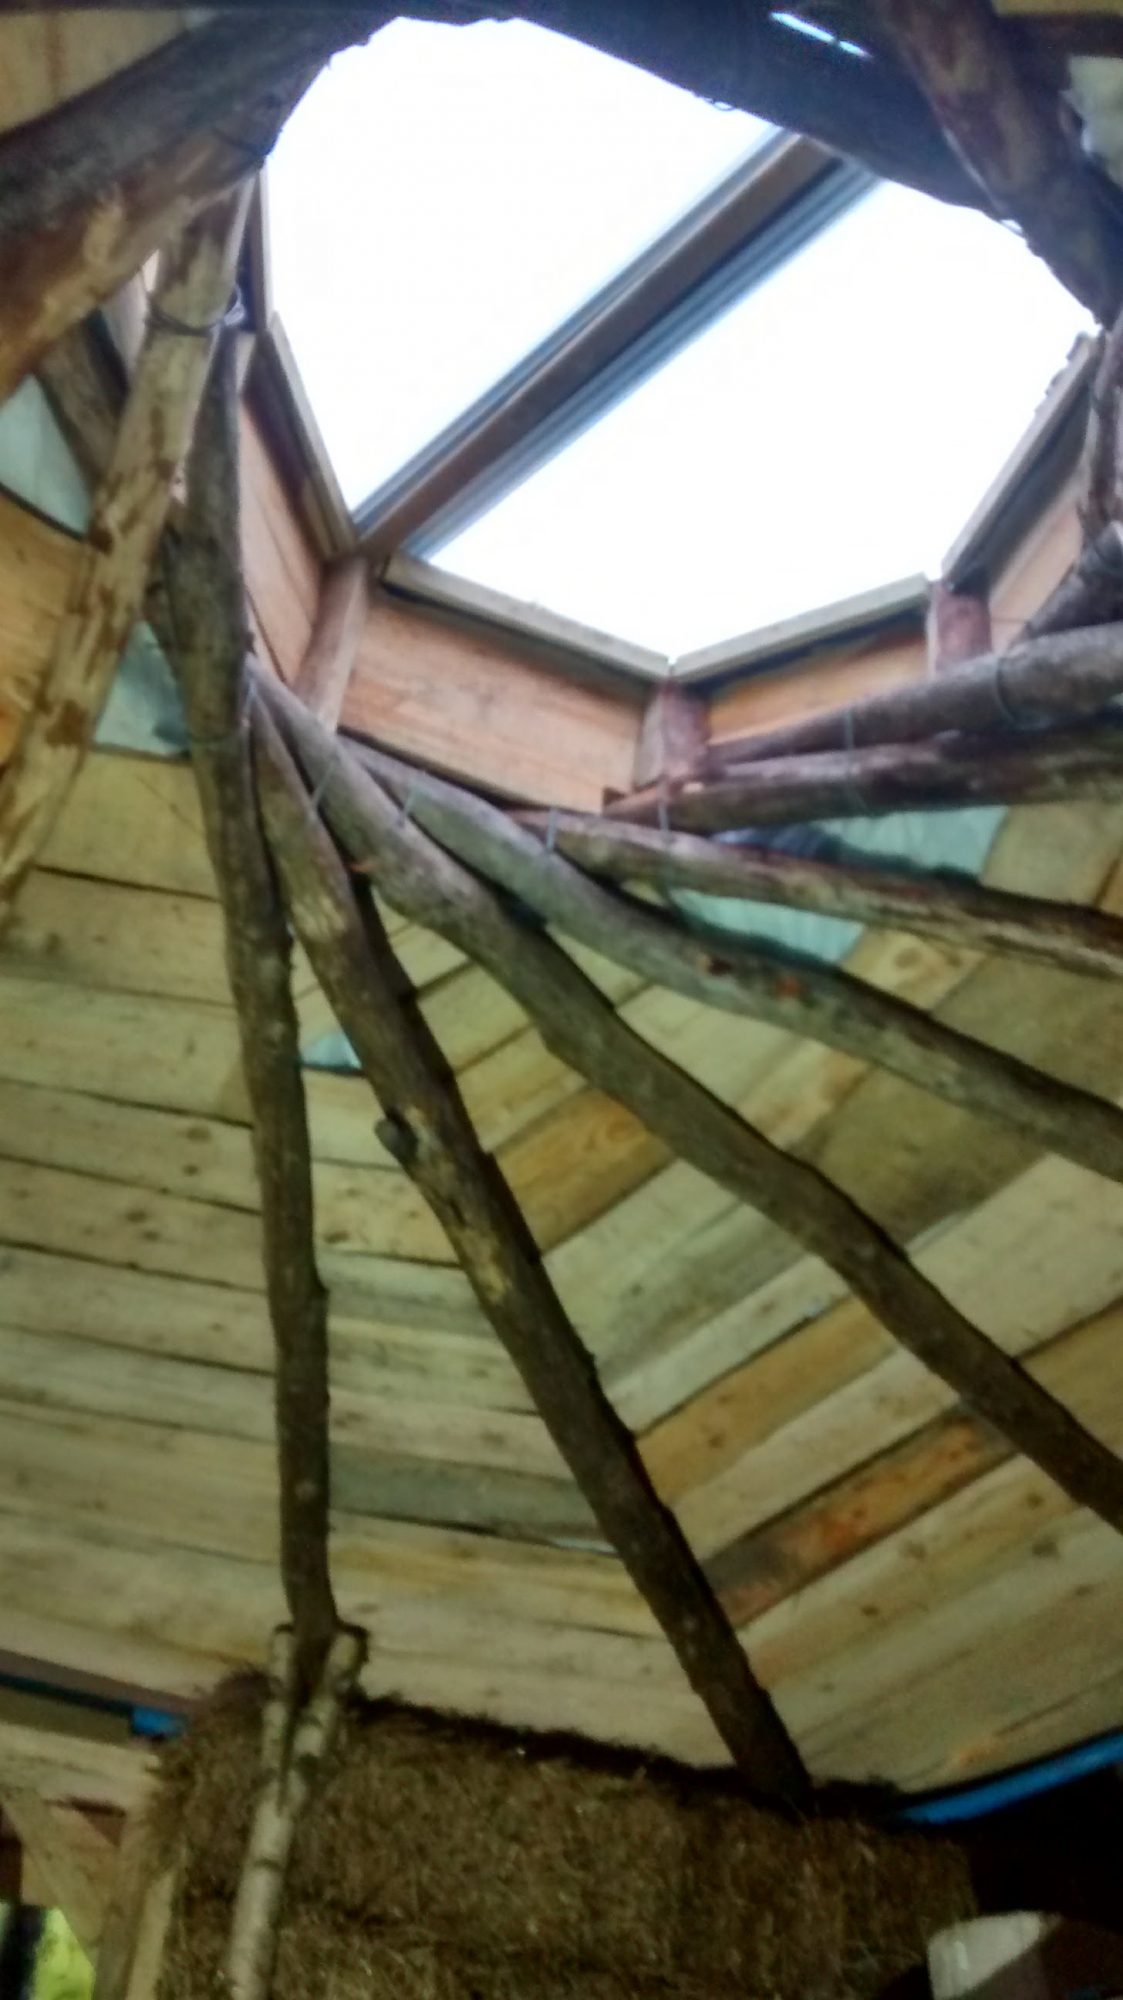
Completed roof interior and skylight

The solution: A store and insulation for the rainwater tanks

With the turf on the building begins to vanish
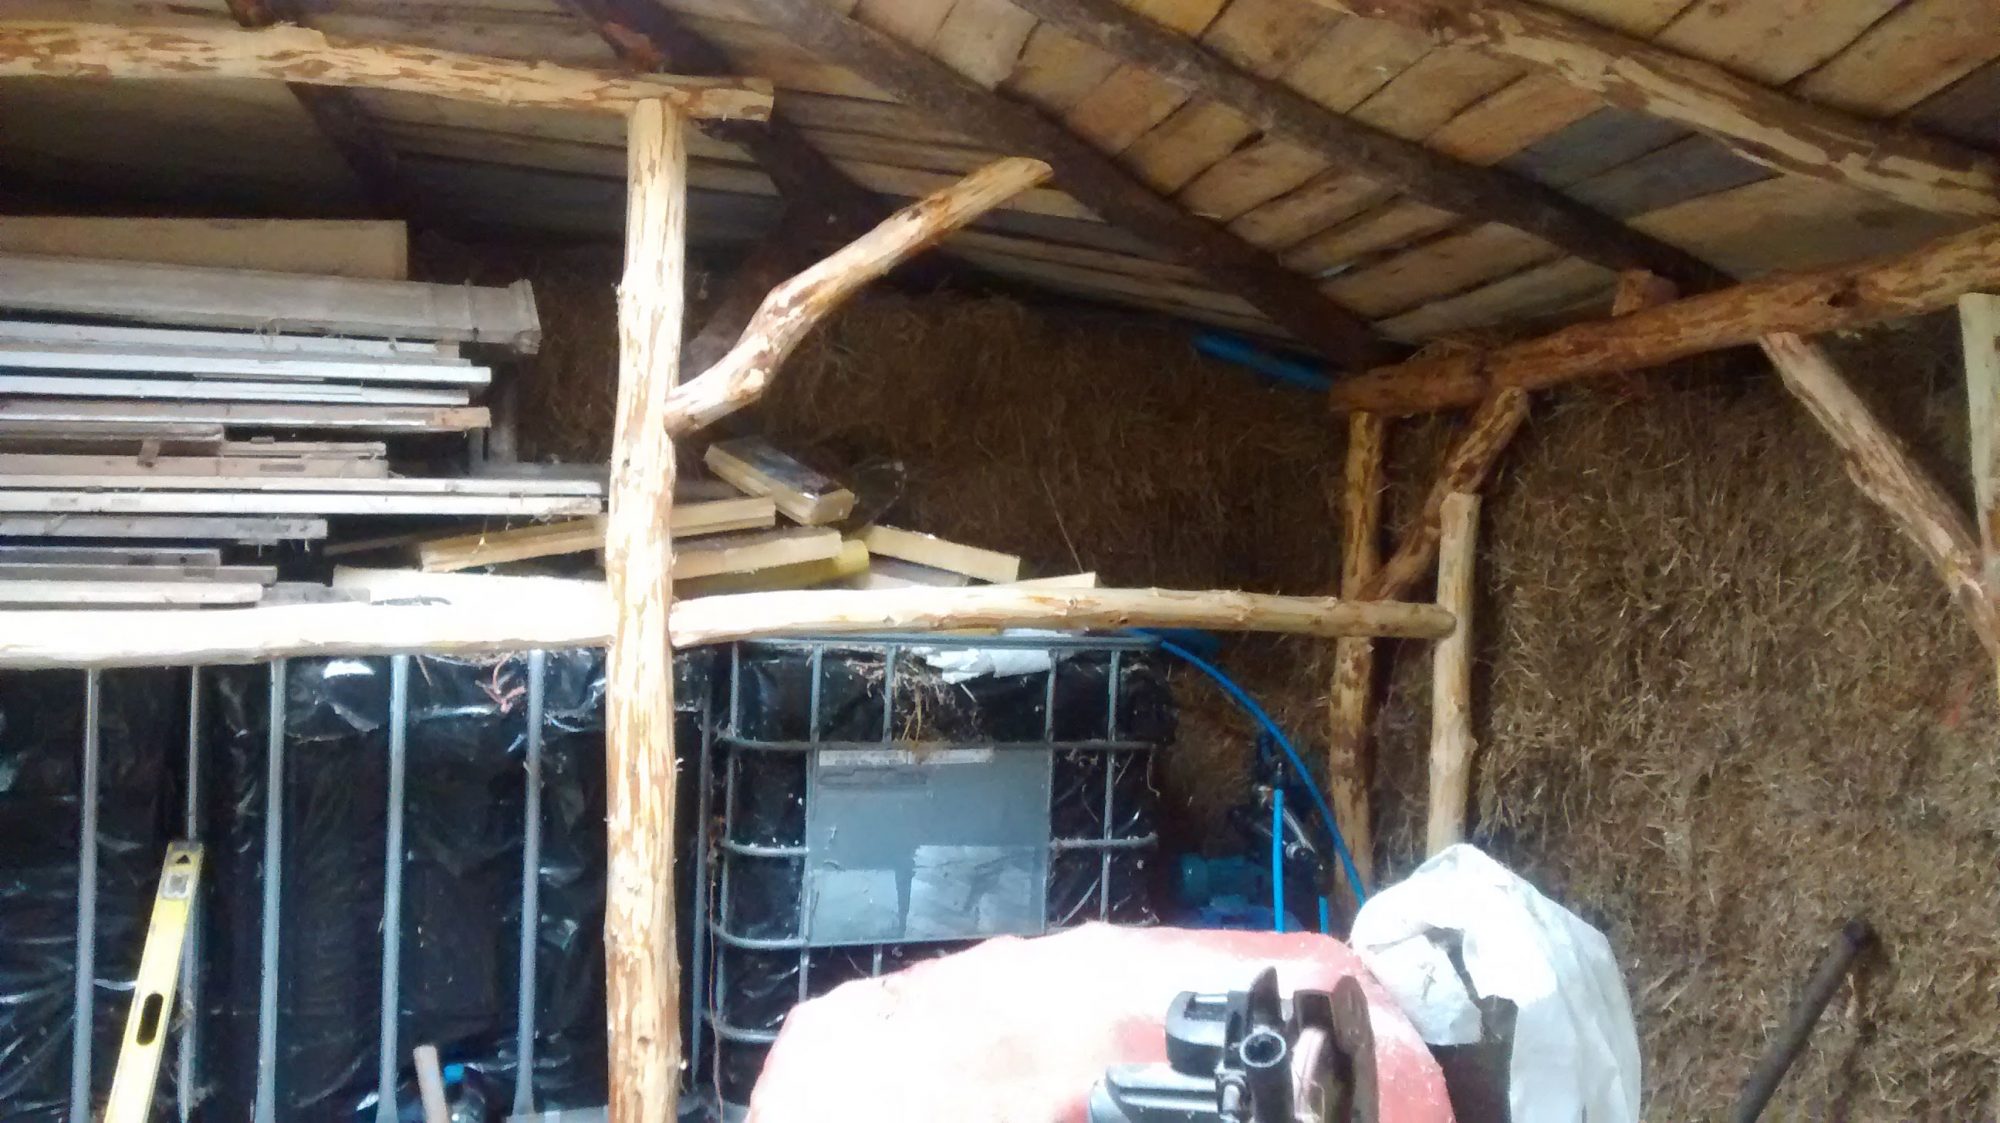
Although the walls are supposed to be load bearing, I couldn’t resist putting in a sturdy pole beneath every other rafter, to help support the weight, and an internal platform over the water tank tops means I also added a supporting pole near the centre of the roof, which will also carry the platform.

The original decision to make a load bearing strawbale structure was a gamble, and one that didn’t really pay off. Firstly the straw wasn’t great – it was in short supply and we took what we could find. Secondly, the experiment with using 2″ water pipe as wall plate (its very rigid and we doubled it up) was one that I can confirm isn’t worth repeating. I underestimated the effect of heavy loads on the pipe, which is very rigid, and how much it would move around.
The end result was that the pipe crushed down into the strawbales quite dramatically, and they compressed quite dramatically, causing the building to go a very interesting shape. This was fine at first, but more recently it became apparent that the whole building was gradually collapsing towards the front, and it was only a matter of time before it went completely. A series of planned earth plastering weekends was cancelled, while I worked out what to do.

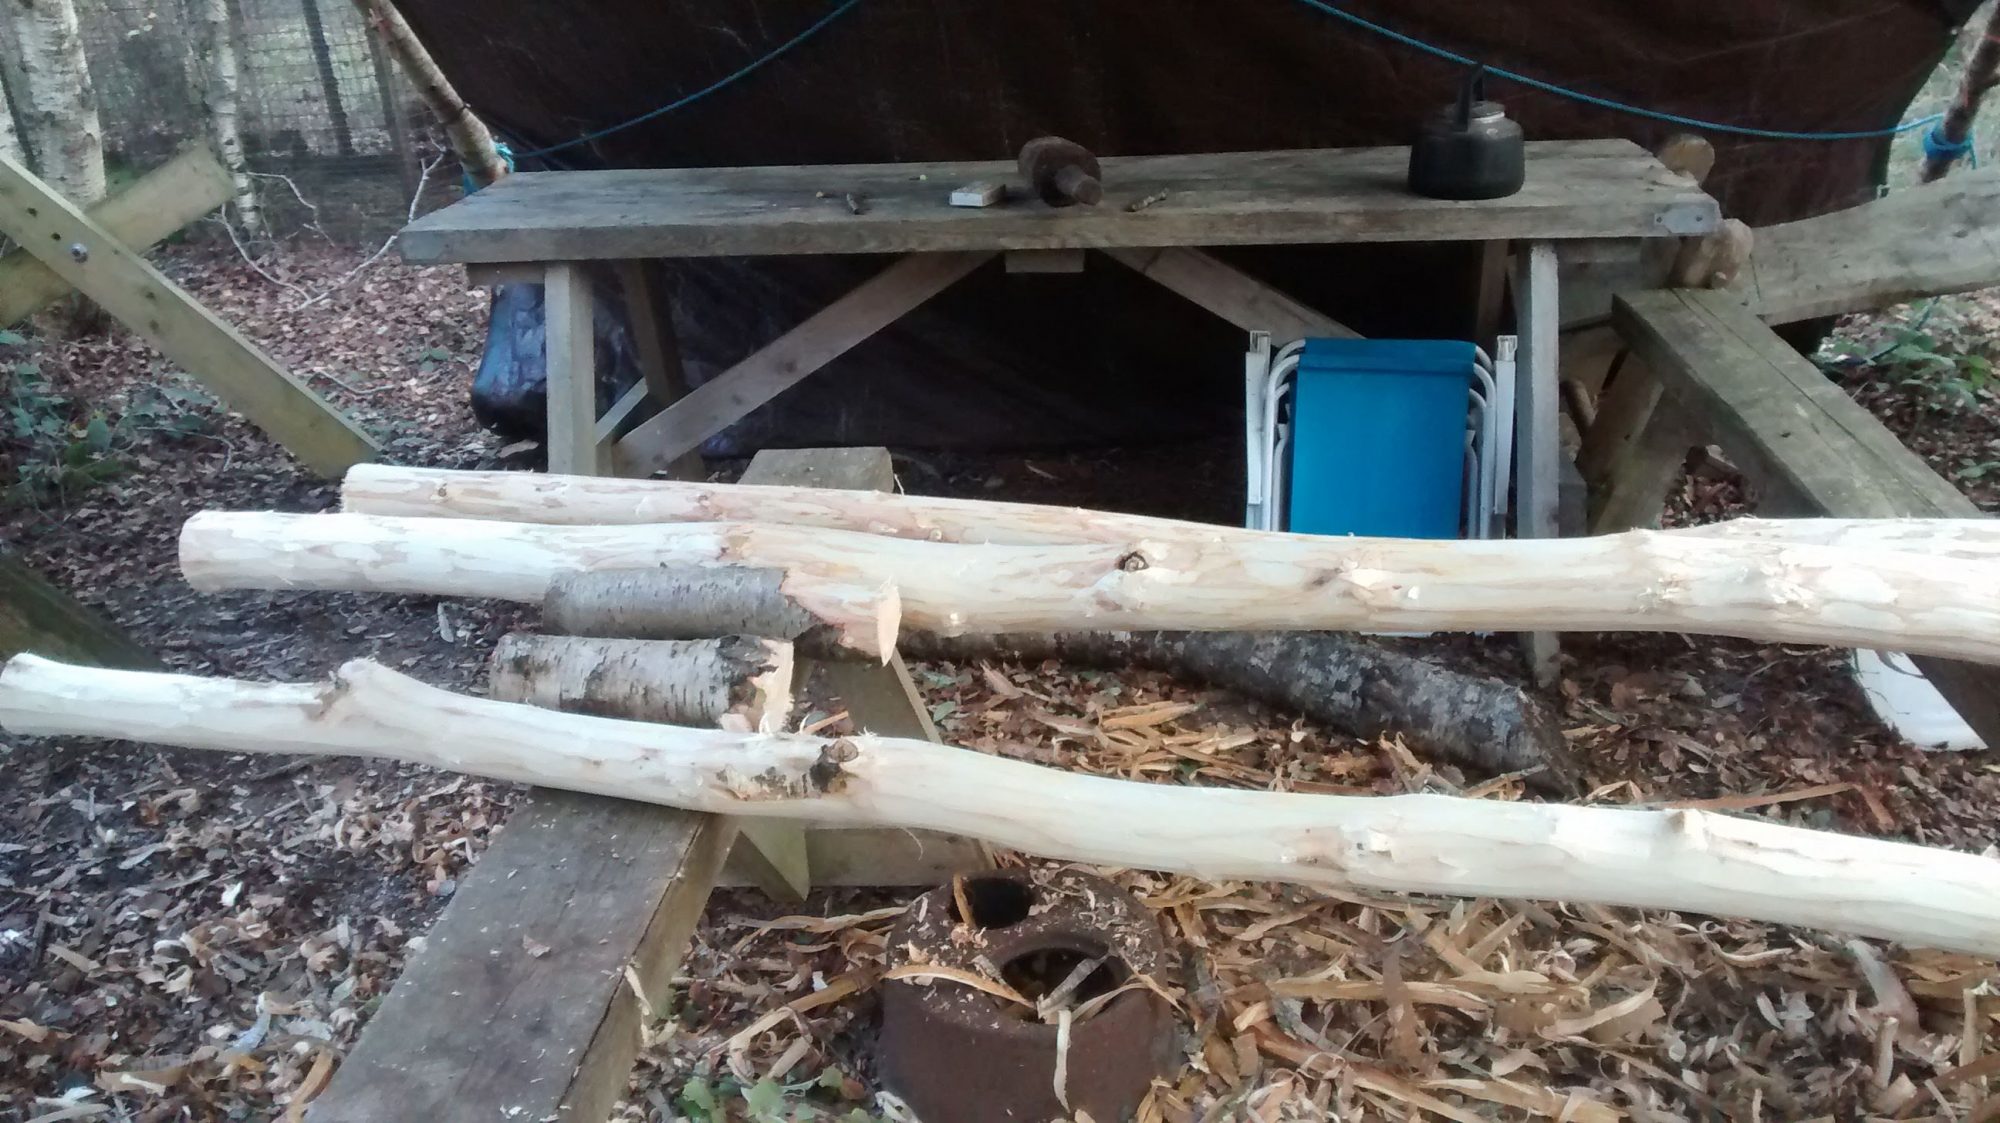
The solution was to put in the timber frame that we should have built in the first place. Not an easy task in a none too stable building without causing it to collapse completely. What I did was to lift a section of the roof using acro props, then prop it with large timber, before building a section of frame under the reciprocal roof. I cut and stripped birch trees, and sat them on large pieces of stone. Galvanised steel 16mm pins connect the uprights through a wallplate to the reciprocal roof rafters above, which are located on top of the pins to prevent movement. The uprights are then braced diagonally to stabilise them. Once I had finished a section it was let down with the steel props, and I moved along to the next section.
A week of swearing ensued, but the end result is that the barn is now completely stable, and although the strawbale walls and windows are sitting at interesting angles, it isn’t going anywhere. The aim now is to move on and get it all plastered, and a level floor installed so that we can use it properly. It’s a lovely space.
Phase Two
It had become apparent that because the roundhouse sits into the slope, and has the rainwater tanks at the top, we would have to put in some drainage so that any water would be able to flow under the floor and away. I put this circular drain in (with perforated pipe) that takes water away to the reedbed.

The next step was to level the space with clean gravel, up to the level of the stone blocks that support the frame.

After much deliberation I went for a plastic membrane and concrete slab, mainly because of cost, but also so that I could be sure to keep the floor above, dry. Any water under the floor can escape through the gravel drain. The concrete is a bit rough and ready but good enough to take battens. At this point I decided to get as much of the plastering as possible before laying the final floor.

Finishing the walls took many layers of plaster, as the strawbale walls were pretty uneven. I used a straw-heavy mix to bulk out the worst of the dips, and then several coats of plaster to get the walls level. We were really fortunate to get some amazing clay from our friend Dagmara, which made the whole process an awful lot easier and quicker.

The last step was to lay a reclaimed pine floor onto treated battens, and to put in some basic lighting. It makes such a difference. The only remaining thing now is to finish drying it all out –

We’ve borrowed the little woodstove from the truck, which sits on a paving slab and is doing a great job of drying out the space, which will double as a workshop and teaching space.

